
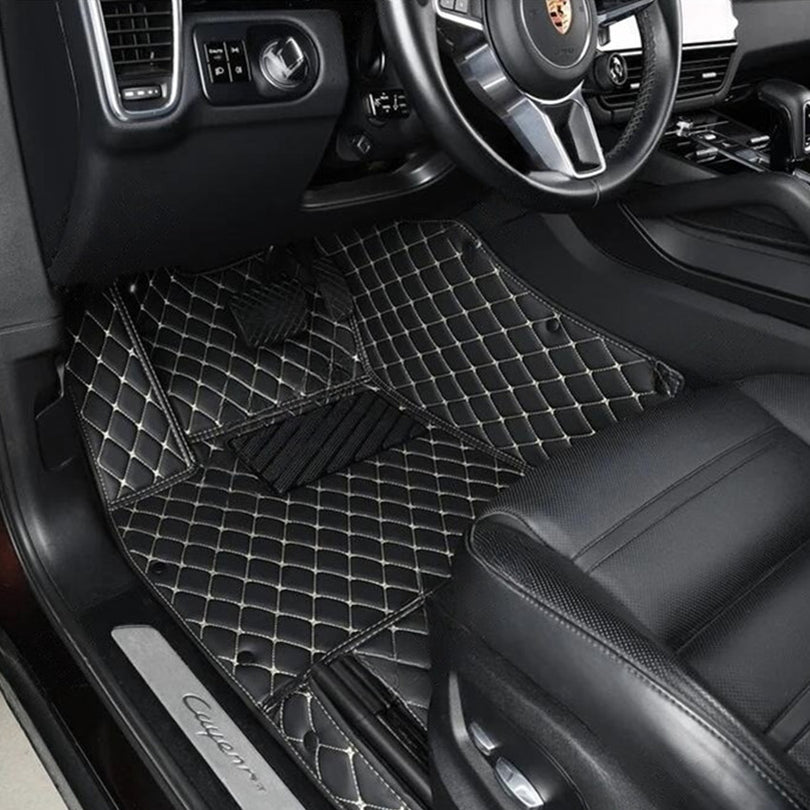
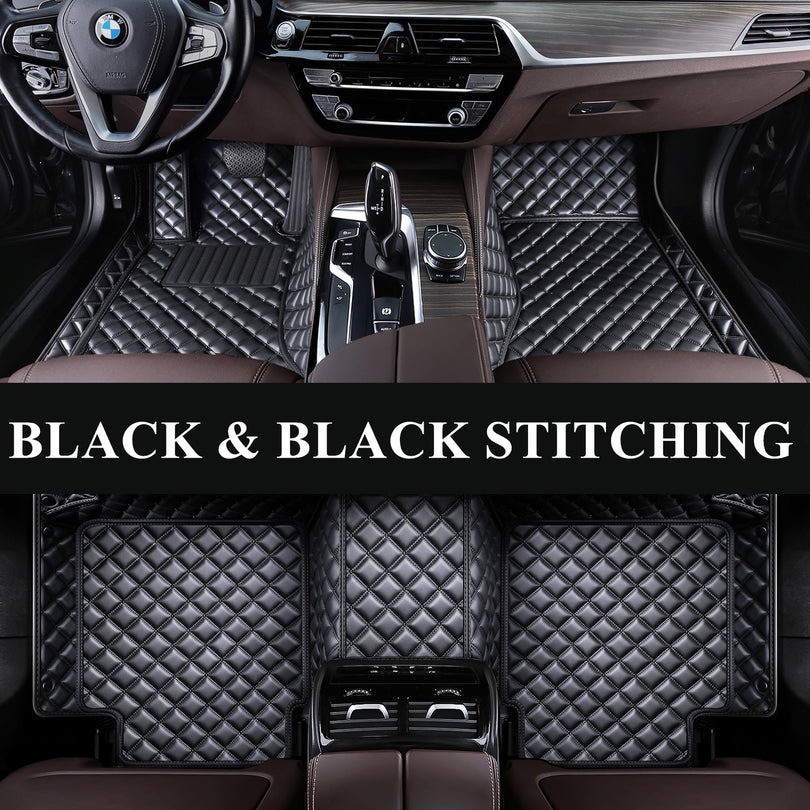
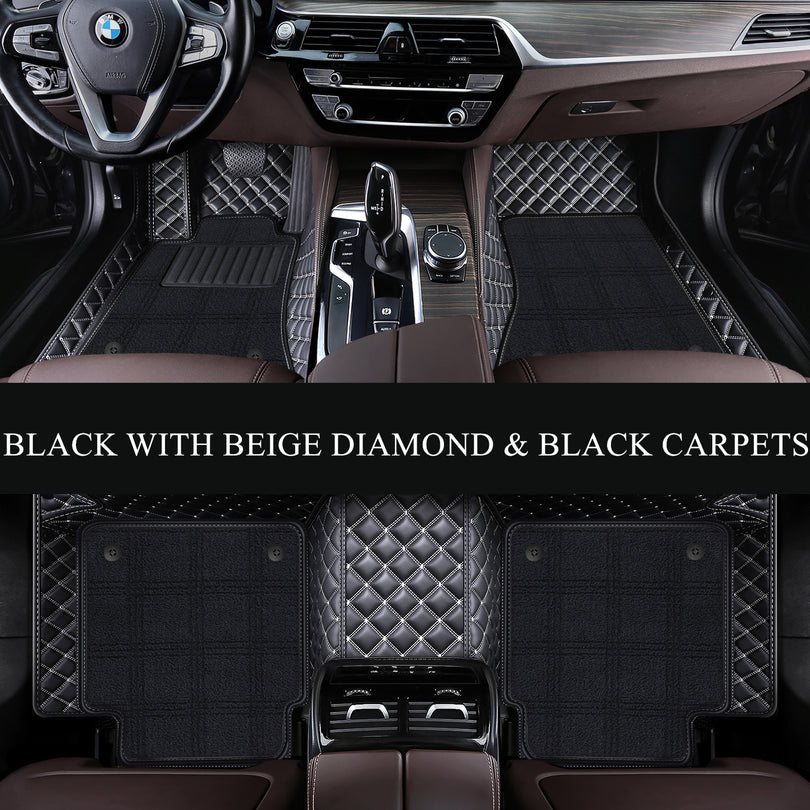
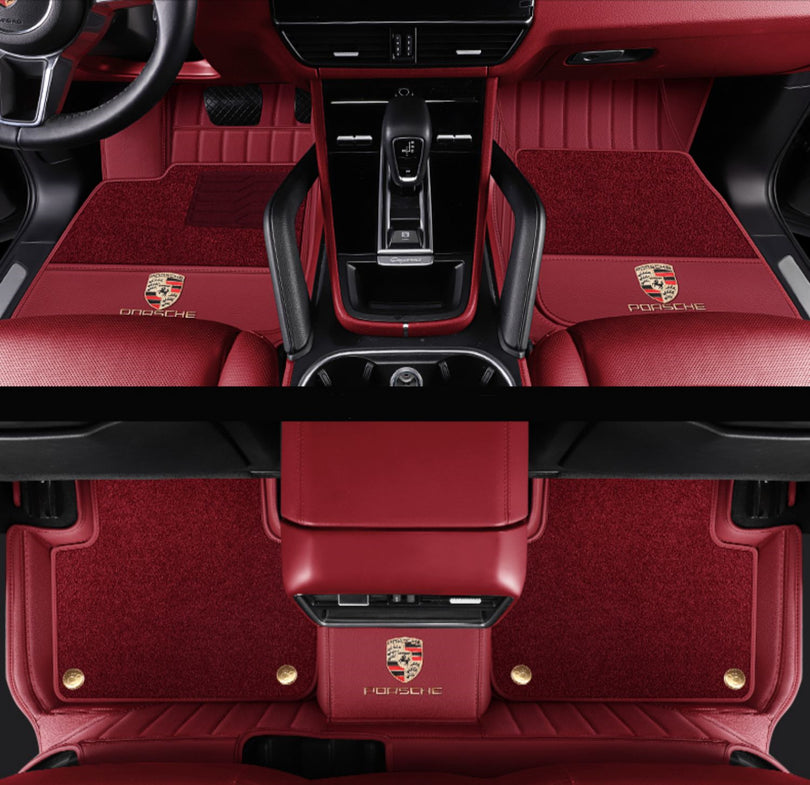
WHAT IS INCLUDED
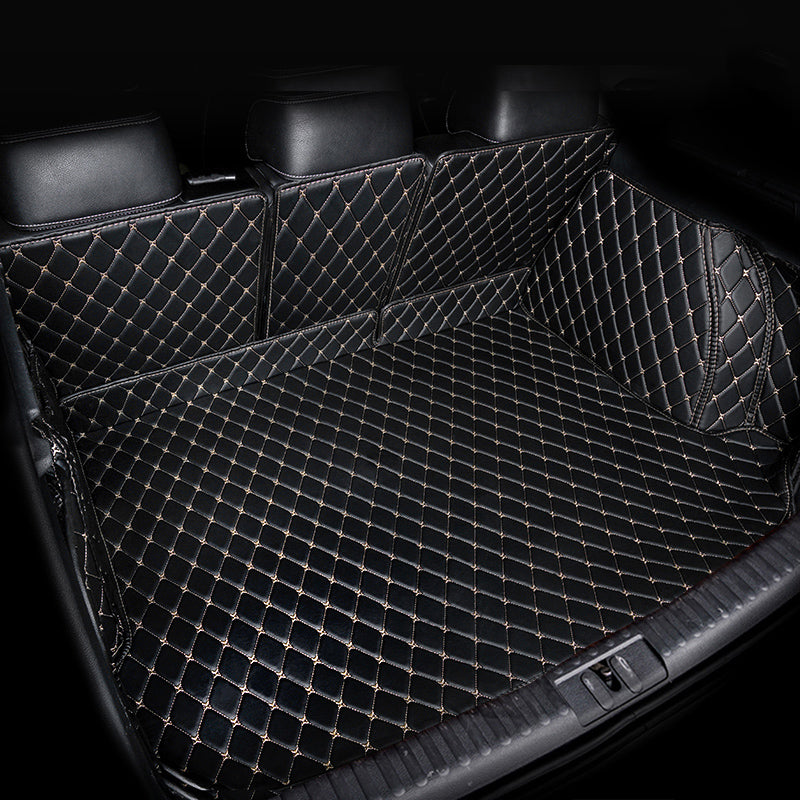
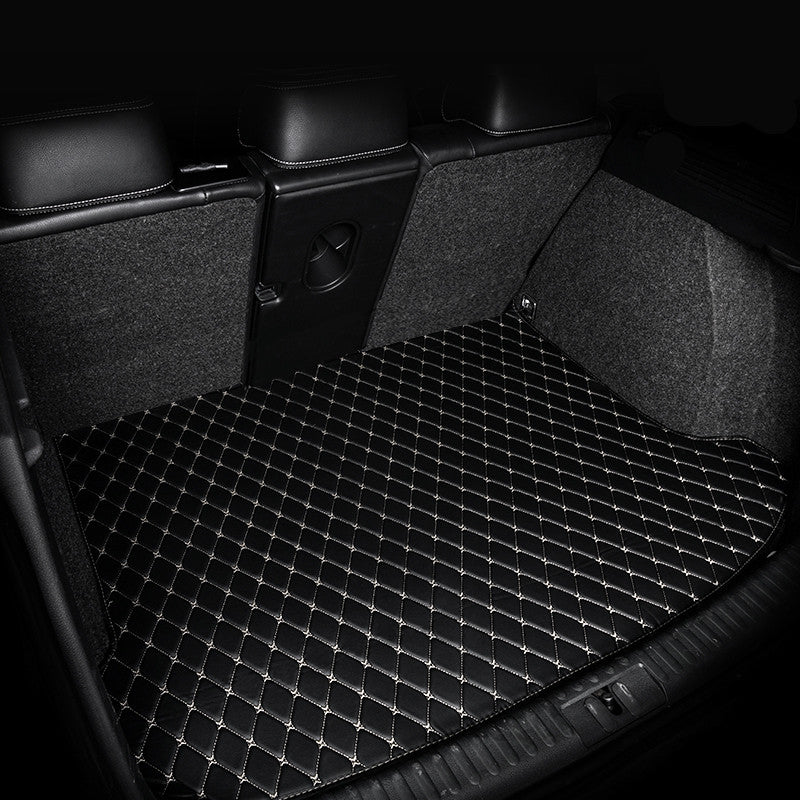
- Custom made front and rear car floor mats (for 2-8 seats depending on your selection)
- Installation accessories
How to install
Installation is intuitive and takes only 5 minutes, no tools or unique abilities are required.
Please follow the step-by-step guide below to install your Carvigor Stitching Custom Luxury Car Mats Set in no time.
Front
- Remove the old floor mats from the vehicle before laying down your custom-made mats.
- We advise you to begin installation from the driver side of the vehicle.
- You can identify the appropriate mat for the driver's side by examining the heel grip.
- Next, adjust the driver's seat all the way back and slide the mat into place.
- Then slide the built-in clips along the sides to fully secure the mats in place.
- Repeat the same steps with the passenger side mat.
Rear
- Adjust the drivers and passenger seat all the way forward to install the back-row mats.
- Place the mats across the floor, and they should slide just right in.
- Lastly, add the built-in clips wherever they're needed to fully secure the mats in place.
- Every set of mat comes with a collection of built-in clips. However, it's not essential to use them all.
- Now the installation of your new custom-made car mats is complete.
NOTE: Once you receive your Carvigor Stitching Custom Luxury Car Mats, you can simply set them in the sun to get rid of creases that may have formed during shipping. However, this is unnecessary as creases tend to fold out over time.